I will show you How To Install ProjectLUMA Shaders for Minecraft 1.21.11. The committed Minecraft shader developers behind ProjectLUMA for Minecraft 1.21.11 are working on it as a hobby. This freshly created Project LUMA shader pack was created to improve the visuals of your game in a novel way, drawing inspiration from the KUDA shader pack. To ensure game optimization and to prevent any in-game problems, ProjectLUMA does not skimp on quality and was created entirely from scratch. Due to the stunning images you will see in the Minecraft world after installation, this shader pack is incredibly intriguing. The primary objective of ProjectLUMA is to create a realistic and stunningly attractive game world. Your experience will be completely fresh thanks to the pack’s assortment of visual upgrades.
With the help of this shader pack, the game has undergone several sophisticated graphical improvements, such as the addition of ambient occlusion and native motion blur. Within Minecraft, the creators have incorporated graphic upgrades that you could typically find in AAA titles. You may feel more at one with the game than ever after becoming accustomed to the new game world features and aesthetic improvements. This is due to the excellent work ProjectLUMA 1.21.11 does in enhancing the comfort of the gaming environment. With the new realistic components, you will be able to visualize yourself inside the game world more than ever before. Look for a suggested realistic texture pack as well to further enhance the realism of the Minecraft game experience.
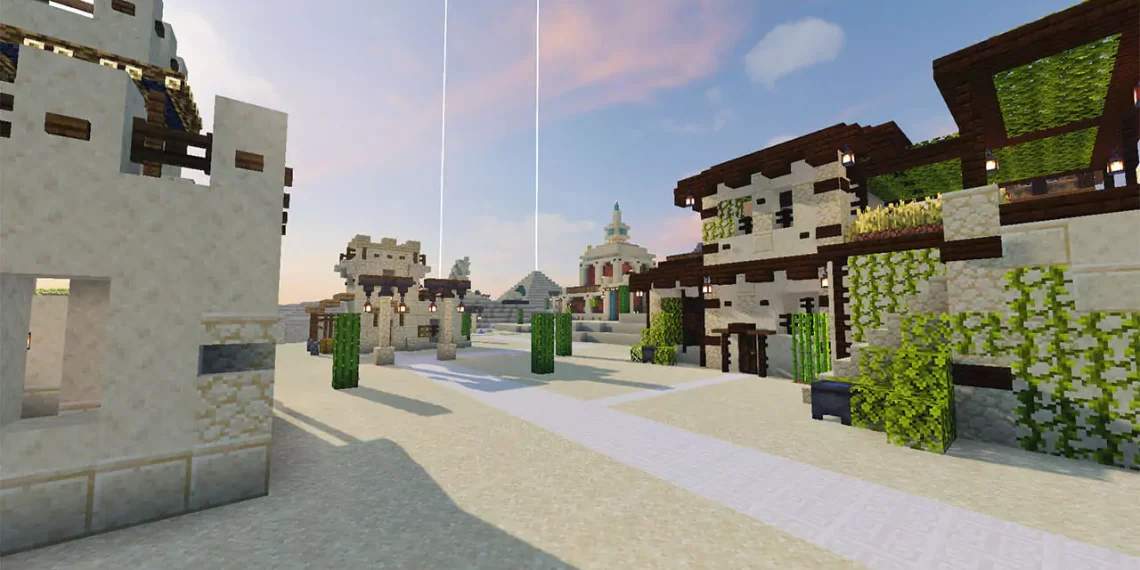
ProjectLUMA – Screenshots


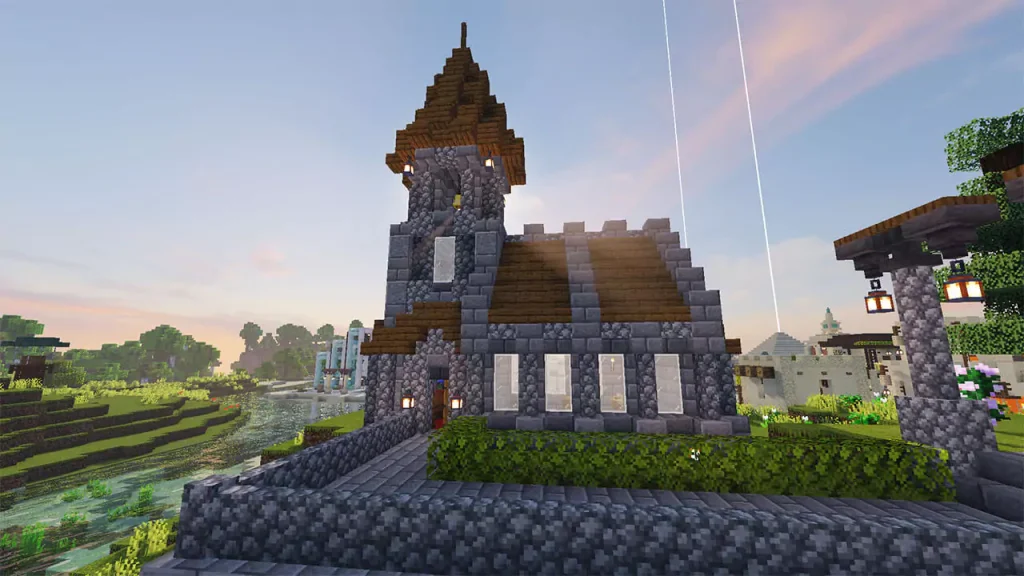


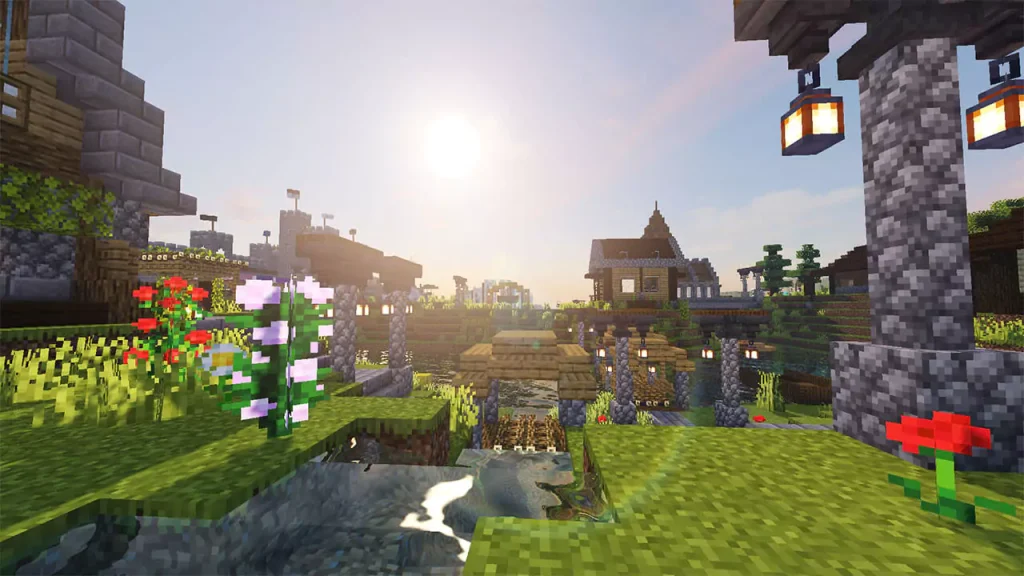
How To Download ProjectLUMA Shaders for Minecraft 1.21.11
This Minecraft shaderpack is fully compatible for Minecraft 1.21.11 and the rest of the previous versions. Follow the steps below:
- Let’s get right into this! Scroll down until you get to the downloads section. There is the ProjectLUMA Shaders link.
- You have to choose now if you want to do this the Optifine way or the Iris way. For this Minecraft Tutorial, I’ll use Optifine.
- There are two different links. Each of them is for something different, click on both please.
- Let’s download both of the files. And that is Optifine and the shaderpack itself, let me tell you what to do.
- Click on the first link please.
- After that, it will take you to the redirection website, when you get there, click on the link again.
- You are finally on the right website where you need to be, look at the right side please.
- There is a section that we will use, and that is the “Downloads”.
- Make sure you choose the right Minecraft version and hit “Download”.
- Now just take both of the files and drop it on the desktop.
- Let’s repeat the steps on the second file as well.
- If you want more in-depth tutorial, I have on on How To Install Shaders in Minecraft. Check it out if you want.
How To Install ProjectLUMA Shaders in Minecraft 1.21.11
Let’s double-check if you have Optifine and Shaders on the desktop, otherwise, this won’t work.
- Take a look on the left-down corner of your screen, there is a Windows Search Bar. Open it.
- Type in %appdata% and then hit enter.
- The roaming folder will pop up.
- Find “.Minecraft” folder and open it.
- When you are there, scroll down to find the “shaderpacks” folder and then simply open it.
- Now, take ProjectLUMA Shaders 1.21.11 and drop it in there.
- You may ask, what to do with Optifine? I’ll show you.
- Go back to the desktop and double-click on the file.
- Read all the info and when you are ready, hit install.
- Open the Minecraft Launcher, open it.
- Choose Optifine, hit play.
- Once you get to the Minecraft Menu, go to Options -> Video Settings -> Shaderpacks.
- Double-click on the shaderpack that you’ve just installed, it will enable that.
- You can now click “Done” and that is everything.


